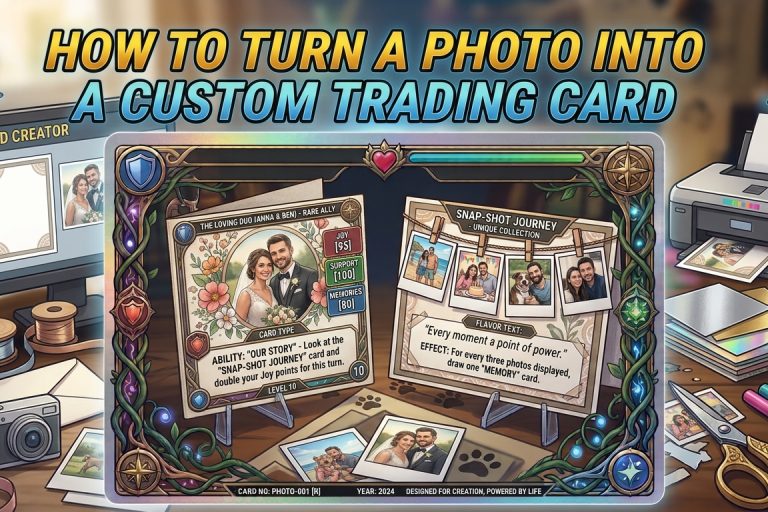
You can make your own trading card from almost any photo in about ten minutes, with no design software. Upload it, frame the subject so nothing important is cut off, fill in a name and two abilities, then download the result as a digital collector card PNG. This guide walks through each step, with the most attention on the part people usually get wrong: fitting the whole subject inside the frame.
What you'll make
The finished card is an image file, not a printed card. It has your photo inside a foil-coloured frame, a card name, two abilities, short flavour text and small details such as a card number. You can also show it held in a hand inside a clear display case. That case is part of the image, a visual effect that makes the card look like a collectible, not a physical product.
People use these cards as birthday messages, profile pictures, group-chat jokes, party place cards and last-minute Christmas extras that arrive the moment you hit send.
Step 1: Choose a photo that will survive the crop
Trading-card art windows are compact, so the best photos have one clear subject and a little space around it.
Look for:
- One subject. A single person, pet or object reads better than a group. For two people, choose a photo where they stand close together.
- Room around the edges. Leave some space above the head and at the sides. A face that already touches the edge of the photo will be tight on the card.
- A plain or soft background. Busy backgrounds compete with the subject at small sizes.
- Good light on the face. Daylight from the side works well. Avoid strong backlight that turns the subject into a silhouette.
- A sharp original. Use the photo from your camera roll rather than a screenshot or a compressed copy from a chat app.
Portrait-orientation photos usually fit card frames more easily than wide landscape shots.
Step 2: Upload and frame the subject
Open the Collector Card Maker and upload your photo. The tool notes that your photo stays in your browser.
Then set up the framing:
- Start with Fit whole photo. This shows the entire image inside the card window, so you can see exactly what you're working with.
- Switch to Fill frame if you'd rather have no empty space around the photo. Fill frame covers the window completely, which means some of the photo's edges will be cropped.
- Adjust Zoom in small steps. Zoom out if a head or tail is cut off. Zoom in if the subject looks small and distant.
- Use Horizontal position and Vertical position, or drag the photo in the preview, to centre the subject. For people, keep the eyes roughly one-third down from the top of the window.
- Press Reset photo position if the framing gets confusing and you want to start over.
Fitting the full subject into the frame
If part of the subject keeps getting cut off, work through these in order:
- Check what Fill frame is cropping. Switch back to Fit whole photo to see the full image, then decide whether the missing part matters.
- Zoom out before moving. Moving a zoomed-in photo only trades one cropped edge for another.
- Prioritise the face, then the hands, then everything else. A cropped shoulder rarely matters. A cropped chin or ear is noticeable.
- Pick a looser photo if nothing works. When the subject fills the original edge to edge, no setting can add space that isn't there.
Step 3: Pick a foil colour
The foil colour sets the card's mood. There are four: Violet, Emerald, Midnight blue and Royal Gold & Plum. As a quick rule, choose a colour that contrasts with the photo's main colour so the subject stands out. A photo with lots of green foliage, for example, looks sharper in Violet or Royal Gold & Plum than in Emerald.
For a fuller guide to matching photos and finishes, see Foil Colours and Display Cases for Custom Collector Cards.
Step 4: Fill in the card details
The text is what makes the card feel personal. You don't need to fill every field perfectly the first time. You can see changes in the preview as you type.
Start with the fields people notice first:
- Card name: the person's name, a nickname or a title. "Captain Aisha" or "The Weekend Chef" reads better than a full legal name.
- Ability one and Ability two: one short line each about something the person really does. Give each a damage value for fun.
- Flavour text: a one-line quote or observation, often the funniest or warmest line on the card.
Then add the smaller details that make it look like a real collectible: Card class, Profile line, Weakness, Resistance, Retreat cost, Edition, Card number, Illustrator credit and Case heading. Inside jokes work well here. For example, "Weakness: alarm clocks" or a card number that matches a birthday, such as 08/24.
Need lines to start from? Custom Trading Card Wording Ideas for Friends and Fictional Characters has examples for every field.
Step 5: Decide on the hand and display case
Turn on Include the hand and display case to show the card held in a hand inside a clear case. Then choose a hand style. Leave it off if you want only the card itself, for example to use as a profile picture or to place in another design.
Step 6: Download the PNG
When the preview looks right, select Download PNG. The file includes the hand and case if you turned them on.
Before you share it, open the PNG on your phone and check three things: every name is spelt correctly, no text runs past its box, and the subject's face isn't cropped.
Quick fixes
| Problem | Try this |
|---|---|
| Head or feet cut off | Zoom out, then reposition vertically |
| Subject looks tiny | Use Fill frame, then zoom in slightly |
| Photo looks blurry | Upload the original photo instead of a screenshot |
| Background is distracting | Zoom in to crop it out, or choose a photo with a plainer background |
| Card feels generic | Rewrite the abilities around one specific habit or memory |
Make your card
You have a photo, so you have everything you need. Open the Collector Card Maker, upload the photo, frame the subject and download your digital collector card PNG.